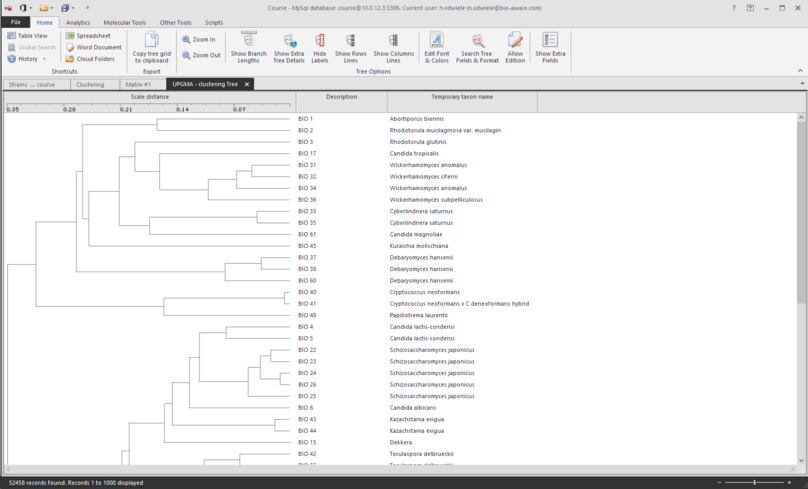
The picture below shows a tree compiled using the UPGMA algorithm.
Right click on record(s) in the tree:
-
Copy selected record to clipboard Save selected cells to clipboard.
-
Display selected records Show the selected records in the grid.
-
Select all cells Select all cells present in the tree
-
Select additional fields to be displayed Display more fields next to the tree to get more information on the clusters visible on the tree. For more details click here.
-
Search and format Search tree field and format. For more details click here.
To open a Nexus tree file, click on the Open icon  on the top-left of the window and Open Nexus tree file.
To save the tree, click on the Save as icon  on the top-left of the window and choose from the following four options:
-
Save as Nexus tree file Save the tree in the Nexus .txt format. File extension is *.txt.
-
Save as Newick tree file Save the tree a Newick format. File extension is *.nwk.
-
Save tree as picture file Save the tree as an image, typically as a *.jpg file.
To show extra information in the tree, use the buttons 3 to 7 (see ribbon below).
Edit font and colors of selected data (button 8) or search of given values and format accordingly (button 9).
Update the information in the database through the tree (button 10).
To display information related to the record besides the tree, click Show extra fields (number 11).
 Copy tree to clipboardCopy tree to clipboard.
|
|
 ZoomEnlarge or decrease the height of the rows.
|
|
 Show branch lengthsShow branch lengths.
|
|
 Show extra detailsShow extra details.
|
|
 Hide labelsHide Descriptions column.
|
|
 Show row linesShow row lines.
|
|
 Show column linesShow column lines.
|
|
 Edit font & colorsEdit font, size, style and background/text color of the selected cell(s).
|
|
 Search tree fields & formatSearch tree field and format. For more details click here.
|
|
 Allow EditingEdit the data in the fields that are displayed in the tree through the button 'Show extra fields'. The data will be actually changed in the database.
|
|
 Show extra fieldsDisplay more fields next to the tree to get more information on the clusters visible on the tree. For more details click here.
|
|