

Label report
! The following movie is based on the previous export tool, now fields are not selected anymore in the wizard.
-
-
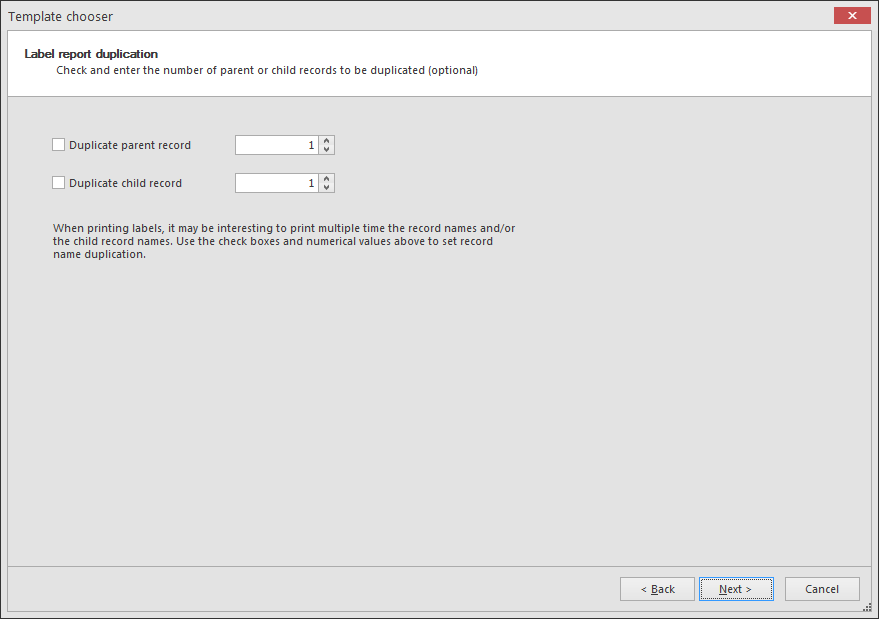
In the popup, select the multiplication of the parent*- and/or child** records.
* Parent record = record in the main table (table that was displayed just before starting the export).
** Child record = record in the target table (linked table).
Note that this can always be updated by going to the properties - miscellaneous section:
-
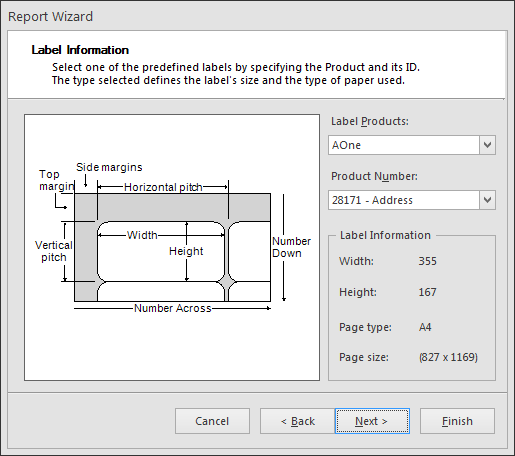
Then choose from the preformatted labels with specific measurements.
-
The fields of the main table and the target tables (including header fields) are listed in the Field list section on the right.
-
To change the measure units, select the page and click on the icon that appears at the top-right of the page.
Select the wanted measure unit: "Hundredths of an inch", "Tenths of a millimeter" or "Pixels".
-
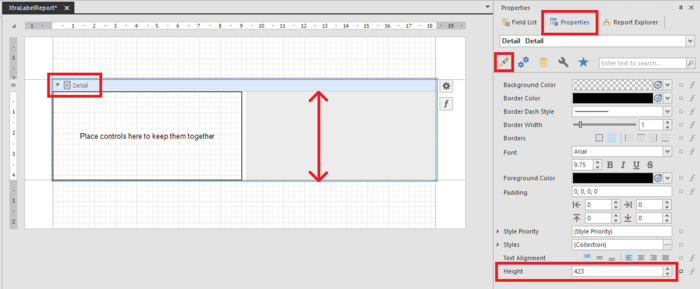
To change the height of the detail band (the height of 1 label), first select the detail band and go to the Properties, Appearance to set the height.
-
To change the width of the column (the width of 1 label), first select the detail band and go to the Properties, Behavior to set the height.

-
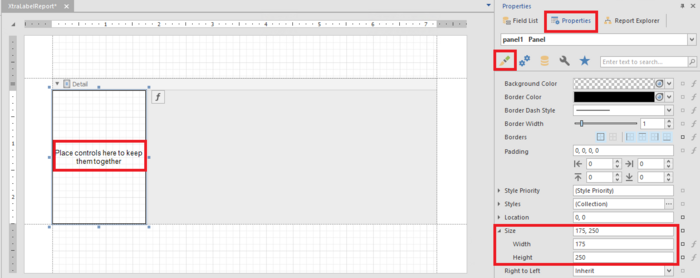
Make sure that the section where the fields are displayed is fitting within the side of the details band (label).
-
Select the section where the fields are being placed and go to the Properties, Appearance and set the size.
-
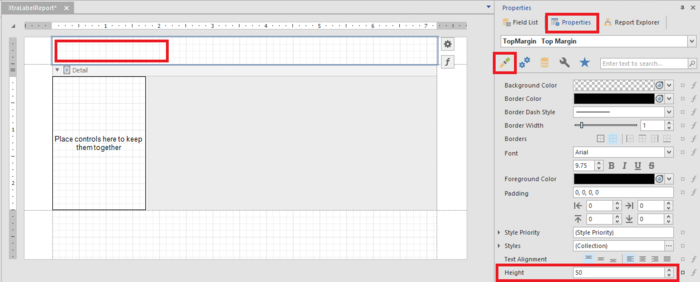
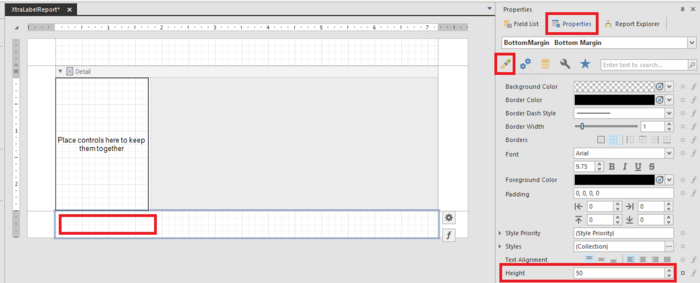
To update the top and the bottom margins of the page, select each of them and set the preferred height.
-
In the field list select the wanted field and drag it to the label.
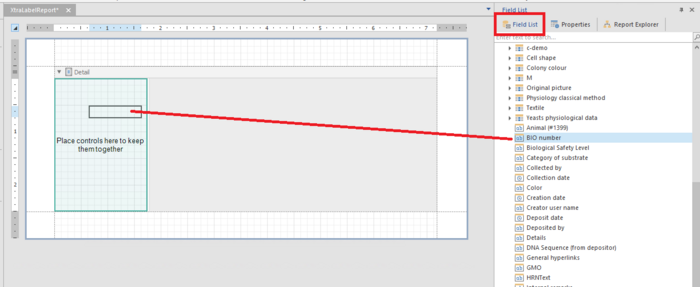
See movie from 2m19s to see how a specific label is being built.
-
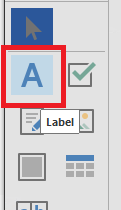
Extra tools (such as line and page info) are available on the left, for details see Toolbox.
-
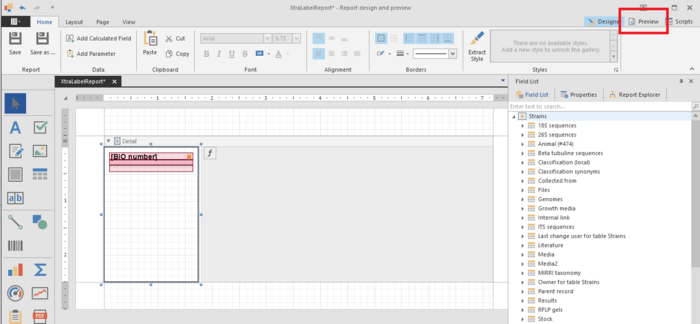
Click on the Preview button at the top right to see a preview of the label at this stage.
-
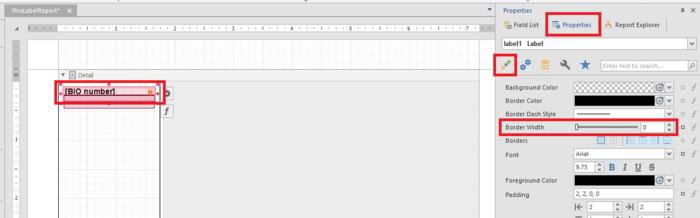
To remove borders, select the item and in the Properties, Appearance, set the border width to 0.
-
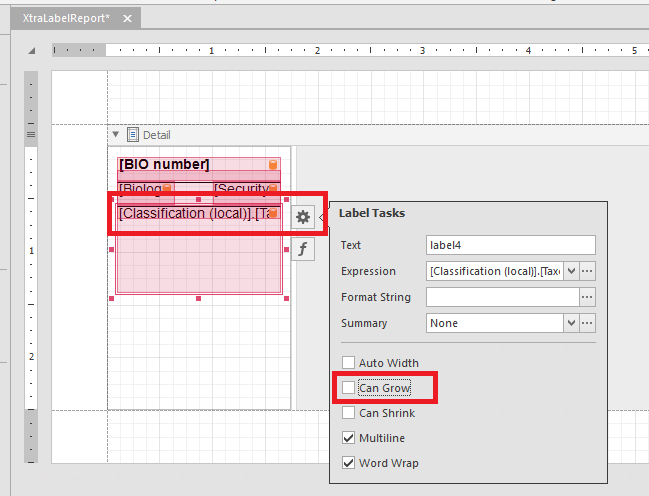
On a label, the place that shows the data of a given field should be static and not growing according to the content of the field.
Therefore, select the field and click on the icon at the top right of the field and uncheck the option "Can grow".
If this option remains checked and the content of the field is large then the items on the label can be pushed down and therefore it will not be printed on the actual label.
-
Drag a Label item from the toolbox to add a fixed text on the label to be printed. Double click on the placed label and enter the text to be shown.
-
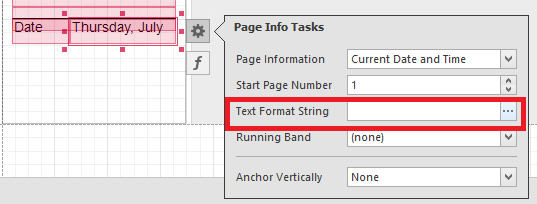
Drag the Page info (from the toolbox) to the label. Click on the properties icon at the top right of the field to set the specific function of this field (for example Current date and time)

The format of the date can be set click clicking on ... in the section "Text format string".
-
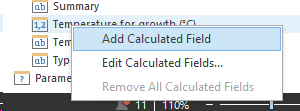
It is possible to concatenate a given value with a static text by using a calculated field. For example to concatenate the temperature with "°C".
-
Right click on a field in the field list (for example on the field Temperature for growth) and choose "Add calculated field".
-
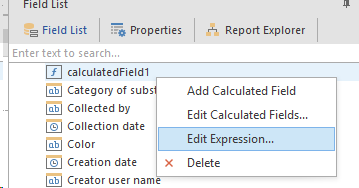
On the newly created calculated field, right click and select "Edit expression".
-
Add (for example) the following code: Concat([Temperature for growth (°C)], '°C' )
Then click OK.
-
Drag the calculated field to the label (the same way it is done for normal fields).
-
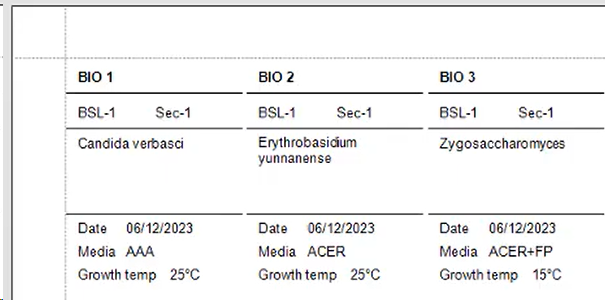
An example of the output of a label report can be:
-
Click on the Save button and enter a meaningful name to save the label template.
 For previously saved templates the following notes still apply:
 -
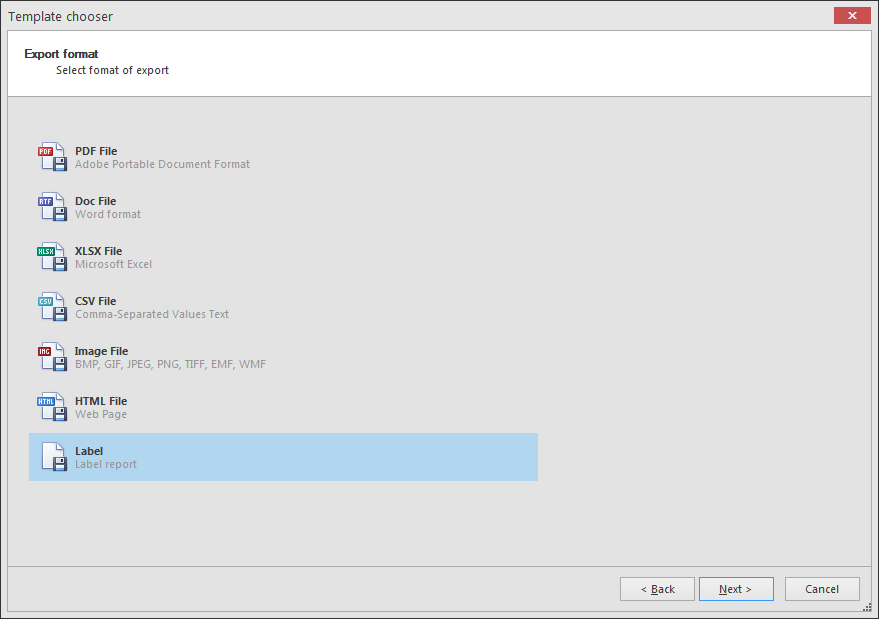
Select Label as export format and click Next to go to the next step.Check and enter the number of parent or child records to be duplicated (optional), and click Next to go to the next step.Enter a template name to save the template for later use.Note that the Open reporting designer is disabled, since it will automatically be opened.Click Next and Finish.
-
Select the label product and the product number, and click Next to go to the next step.
-
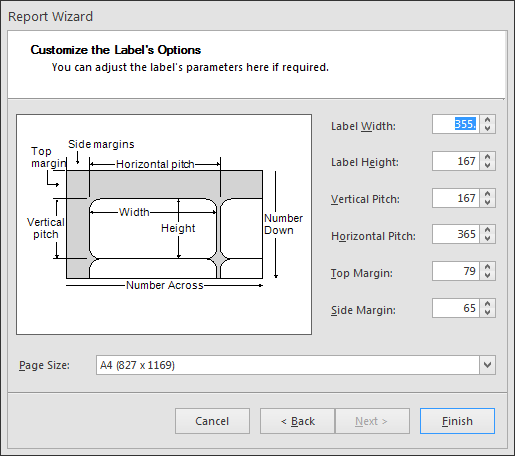
Customize manually the size of the label and select the Paper size. Click Finish to open the report designer.In the report designer additional changes can be made, like adding a barcode or other controls.