Import data into BioloMICS
The analyzed data can now be imported into BioloMICS.
Click on the button Import data to start the Spectra Importation wizard.

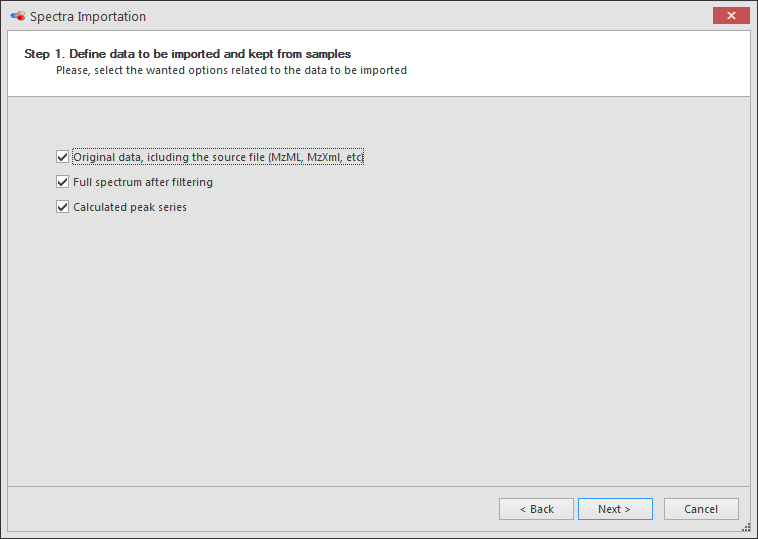
Step 1. Define data to be imported and kept from samples.
-
Keep source file. If checked, the source file will be imported in the Wave (W) field. This is needed if you want to reprocess the original files using a new filtering scenario. Be aware that it might quickly increase the size of your database.
-
Full spectrum. Check this box if the spectrum with all the molecular weights and signal values must be imported in the Wave (W) field. Check this only if the spectrum will be used for record comparisons.
-
Calculated peak series. Check this box to import the computed peaks. This option is required if you want to compare records using peak based algorithms.
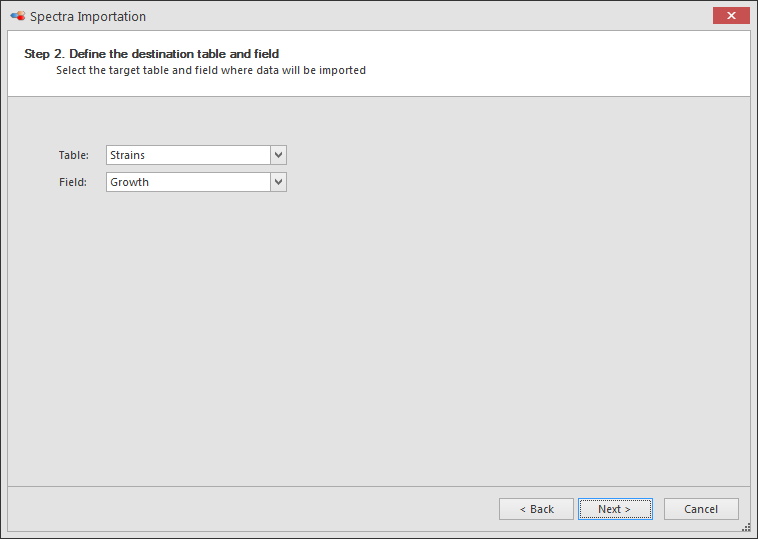
Step 2. Select the target table and field where the data will be imported.
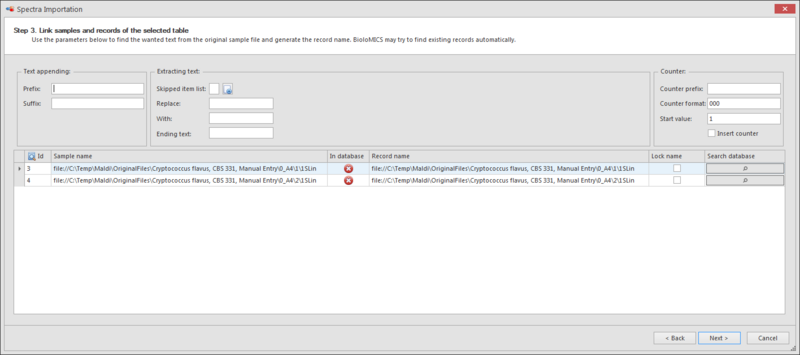
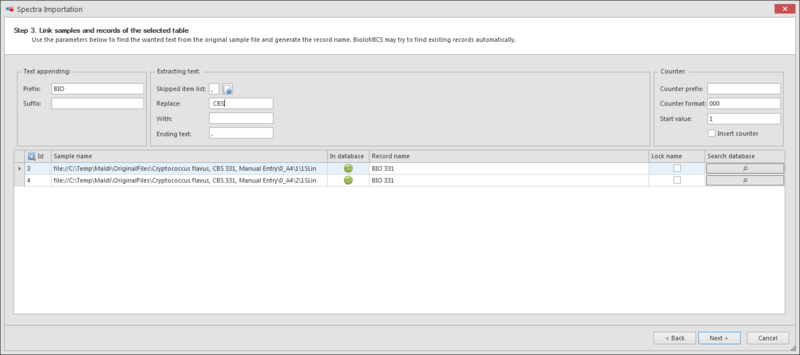
Step 3. Link samples and records of the selected table. Use the parameters to find the wanted text from the original sample file and generate the record name. BioloMICS may try to find existing records automatically.
-
Text appending (the top left): enter a prefix and/or a suffix to find match the one from your record in the database.
-
Extracting text (top middle):
-
In the Skipped item list enter a character that is used to split the same name. Everything before the given character will be removed. Click on the + button to add another character.
-
When you want to replace a given text with another fixed text then enter both values in the ‘Replace’ and ‘With’ box.
-
In the Ending text enter the character to be used to split again the sample name, but in this case everything after this character will be removed.
In the picture below, in the sample name, we have:
-
removed all text before the first comma “,”
-
removed all text after the next comma “,”
-
replaced the text “ CBS“ with nothing “”
-
added the prefix “BIO”
This leaves us with the Record name BIO 331 with is found in our database.
-
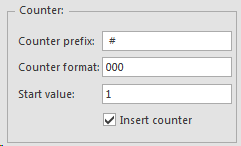
Counter (top right):
-
Counter prefix. Text inserted just before the counter value.
-
Counter format. Defines how the counter is displayed.
-
Start value. Counter will start generating integers from this value.
-
Insert counter. Check this box to insert a counter value.
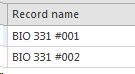
The following settings will give the results as shown besides:
Click on the Search database button to open a dialog searching for records in the database. This record will be the target record for the replicate data visible in the given row.
Click Next and finish the wizard.
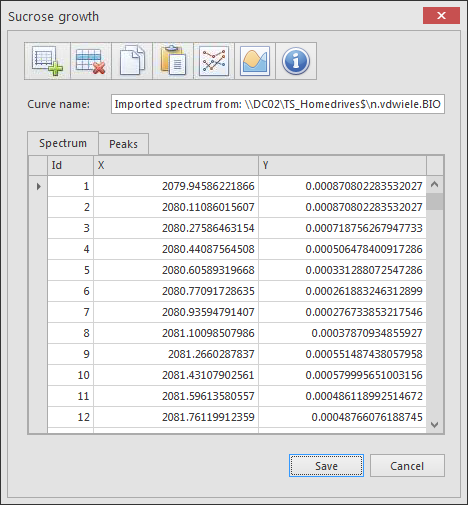
The imported data are now saved in the database in the Wave (W) field. Double click on the W field to see the details.